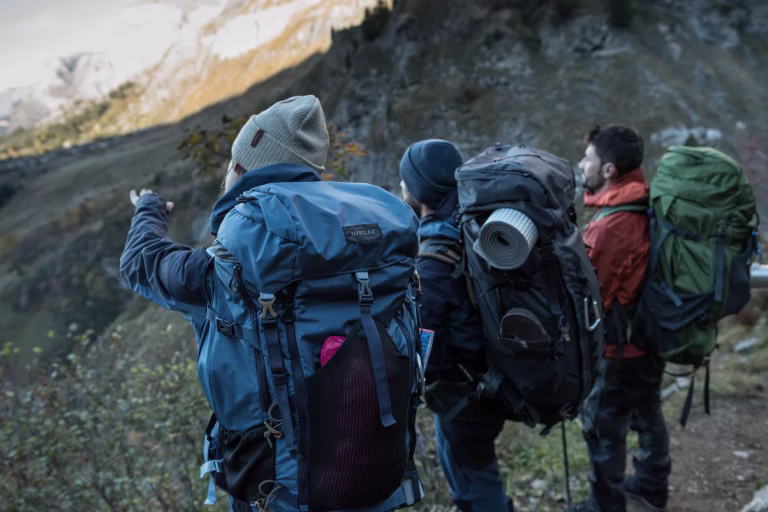
Staying hydrated is really critical for outdoor activities whether you’re hiking, mountain biking, running or camping. Hydation bladders are just soft water bottles, strapped to your back and you get to drink from it with a tube, kinda cool.
Its utility is definitely its hands-free, lightweight feature so you don’t have to stop and get a drink especially if time is of the essence. We’ll get into the details more below but feel free to also browse 50 Best Camping and Hiking Gears Worth Investing In which inspired this post.
So, in this comprehensive guide, we dive into everything you need to know about hydration bladders; from the top 10 picks to also things like cleaning hacks.
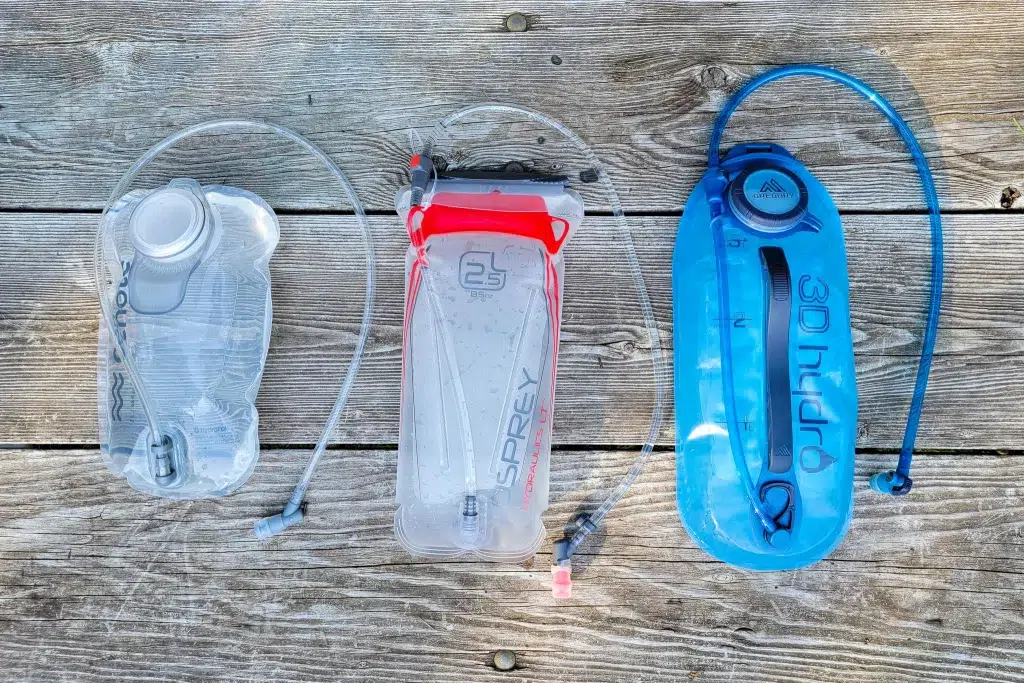
First: Key Hydration Bladder Components Explained

- Reservoir: The water-holding compartment, usually ranging from 1L to 3L in capacity.
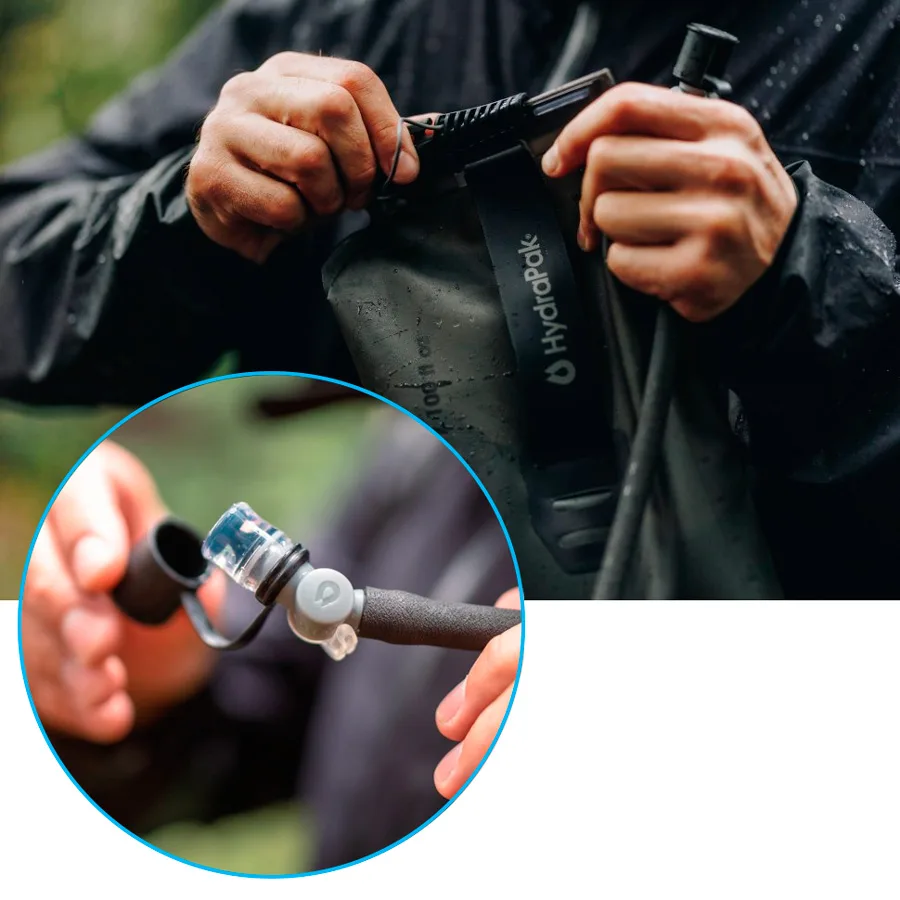
- Tube and Bite Valve: A flexible hose connects the bladder to a mouthpiece or bite valve, making drinking hands-free.
- Fill Port: Often a screw-top or slide-lock system for easy refilling and cleaning.
The list: 10 Best Hydration Bladders for the trails
Here are our top 10 expert-reviewed choices:
| Brand | Model | Capacity | Price Range | Features |
|---|---|---|---|---|
| 1. CamelBak | Crux | 2L–3L | $35–$55 | Leak-proof, quick link system |
| 2. Platypus | Big Zip EVO | 2L–3L | $40–$60 | Wide opening, taste-free tube |
| 3. Osprey | Hydraulics LT | 1.5L–3L | $30–$45 | Slide-seal top, magnetic valve |
| 4. HydraPak | Shape-Shift Reservoir | 2L–3L | $40–$55 | Reversible, baffle system, lightweight |
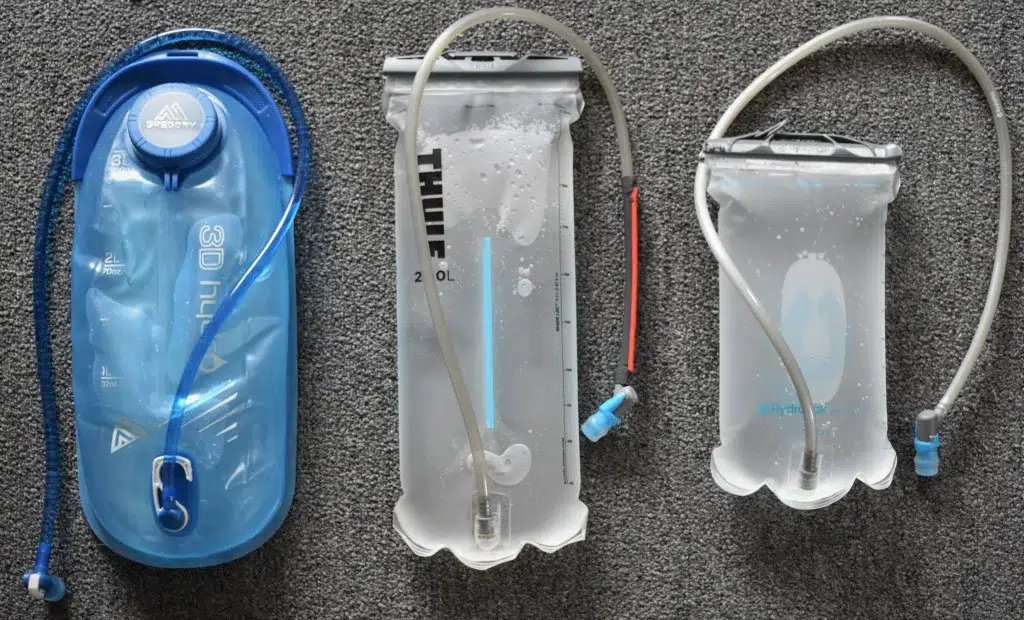
| 5. Gregory | 3D Hydro Reservoir | 2L–3L | $35–$50 | Molded back panel, SpeedClip hanger |
| 6. Source Tactical | WXP Hydration System | 2L–3L | $40–$60 | Taste-free lining, durable build |
| 7. HydraPak | Velocity IT | 1.5L–2L | $30–$46 | Pressurized spray system, replaceable filter |
| 8. Nathan | Hydration Bladder | 2L | $30–$40 | Soft flask design, ideal for trail runners |
| 9. CamelBak | Mil-Spec Crux | 3L | $40–$50 | Flexible design, high flow valve |
| 10. Pakteen | 1000D | 1.5L | $50–60 | Great value, sturdy and simple |
How to Choose the Right Hydration Bladder for you
Choosing the right hydration bladder depends on your activity type, trip duration, and personal preference.
Size and Capacity Options
- 1-1.5L: Ideal for short hikes and casual use
- 2L: The most common size, balancing weight and volume
- 3L+: Great for long treks and hot climates
Material and Durability
Look for BPA-free and puncture-resistant materials like TPU (thermoplastic polyurethane) for longevity.
Hose and Valve Quality
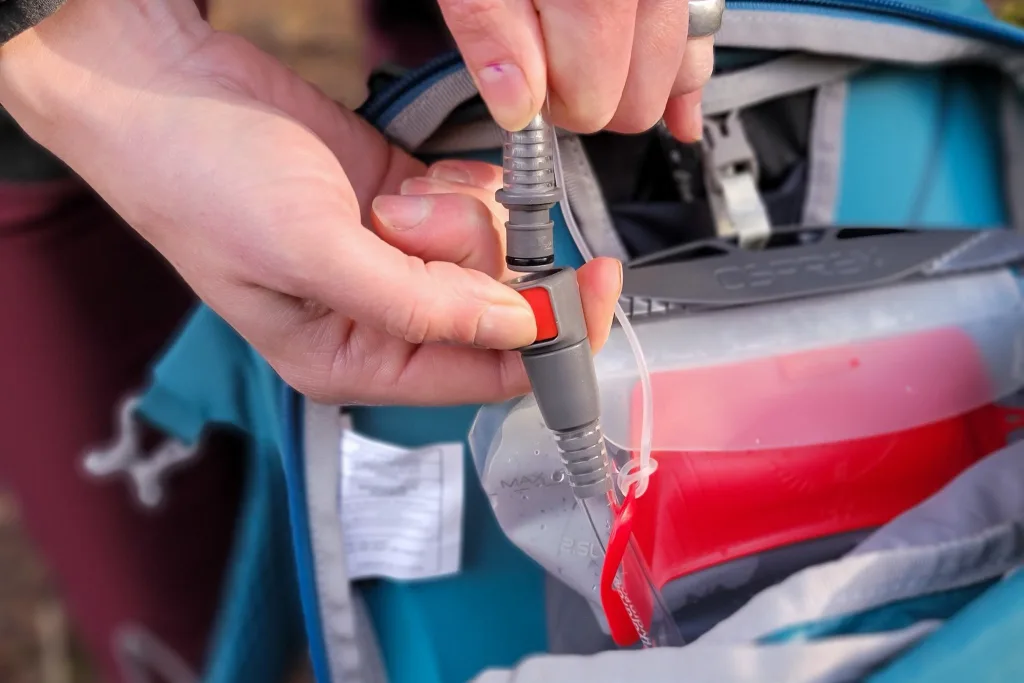
Opt for bladders with insulated hoses to prevent freezing and anti-leak bite valves for efficiency.
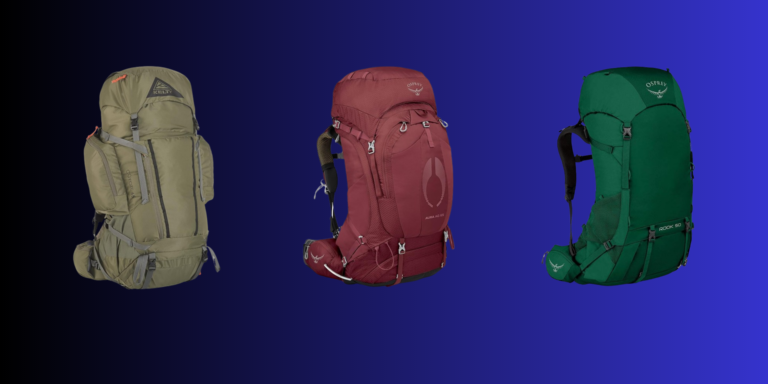
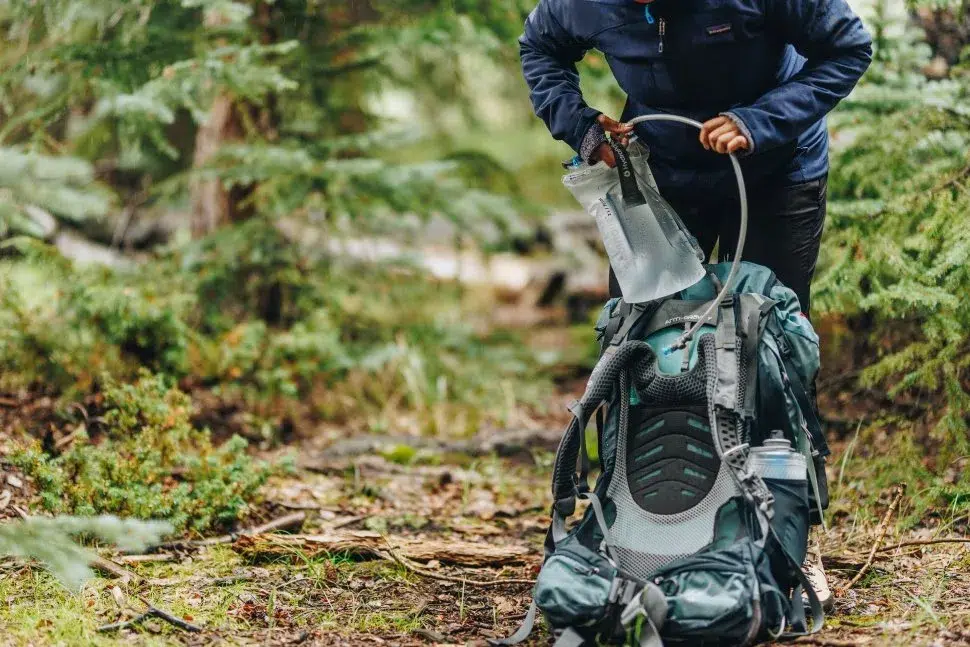
Comparing Hydration Bladders vs. Hydration Packs
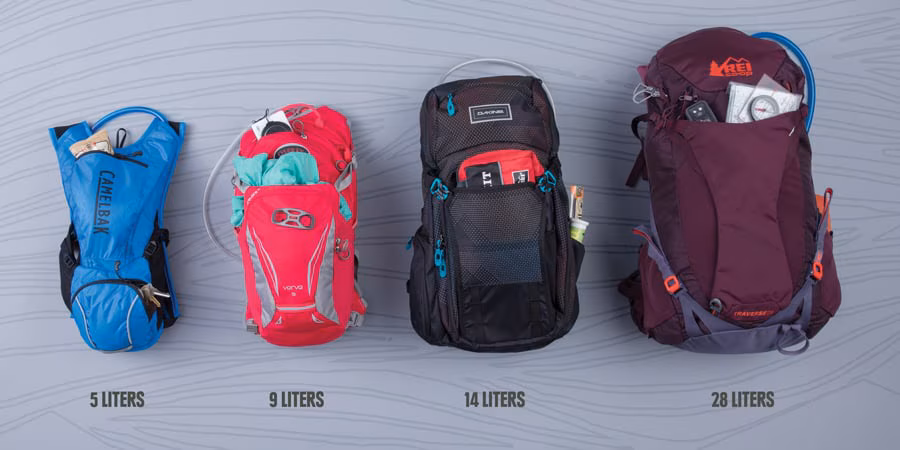
Hydration bladders are just one component—hydration packs combine storage and water delivery.
When to Choose Which
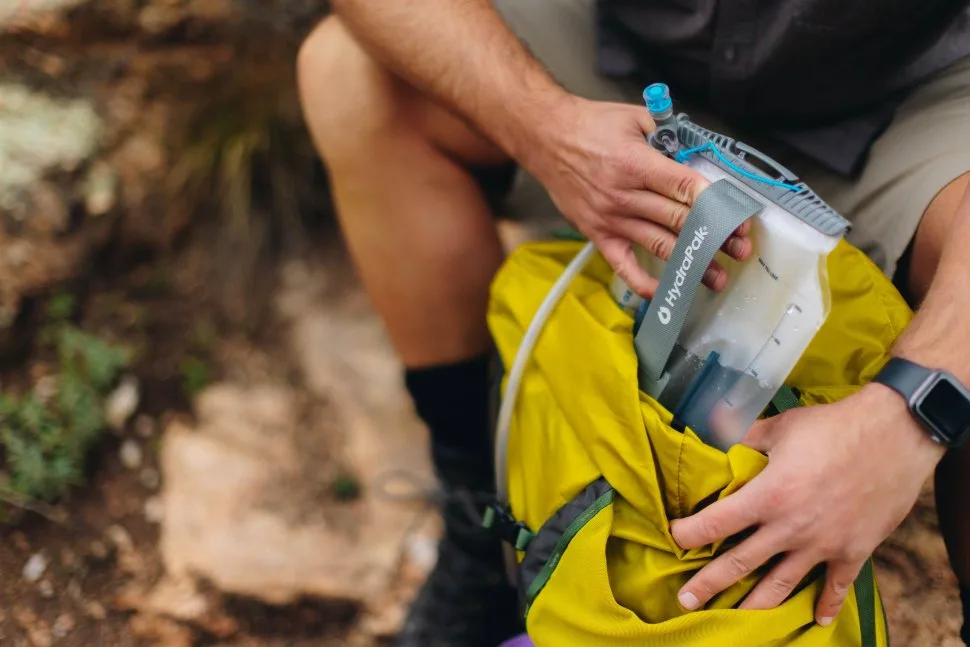
- Use a hydration bladder if you already have a compatible backpack.
- Opt for a hydration pack if you want an all-in-one hydration and gear-carrying system.
Cost and Function Differences
- Hydration bladders: $20–$60
- Hydration packs: $60–$150+
Hydration packs are pricier but offer organized compartments and added comfort.
for Long Treks
CamelBak Crux 3L offers the best capacity with minimal bulk and durable construction.
for Day Hikes
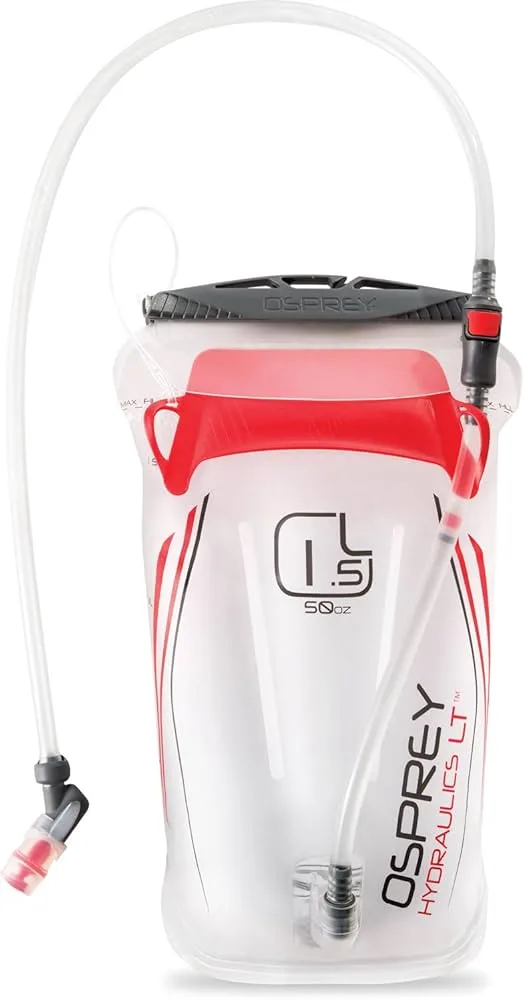
The Osprey Hydraulics LT 1.5L is a perfect match for minimalist daypacks.
Based on Field Testing
- CamelBak is known for its military-grade durability.
- Platypus offers the best taste-neutral water delivery.
- Osprey bladders are praised for their ease of cleaning.
Cleaning and Maintenance Tips
Hydration bladders require regular cleaning to stay hygienic and mold-free, especially after use with electrolytes or flavored drinks.
Preventing Mold and Bacteria
- Empty and rinse the bladder immediately after each use.
- Leave the reservoir and hose open to air dry completely.
Step-by-Step Cleaning Guide
- Fill with warm water and a few drops of mild soap or baking soda.
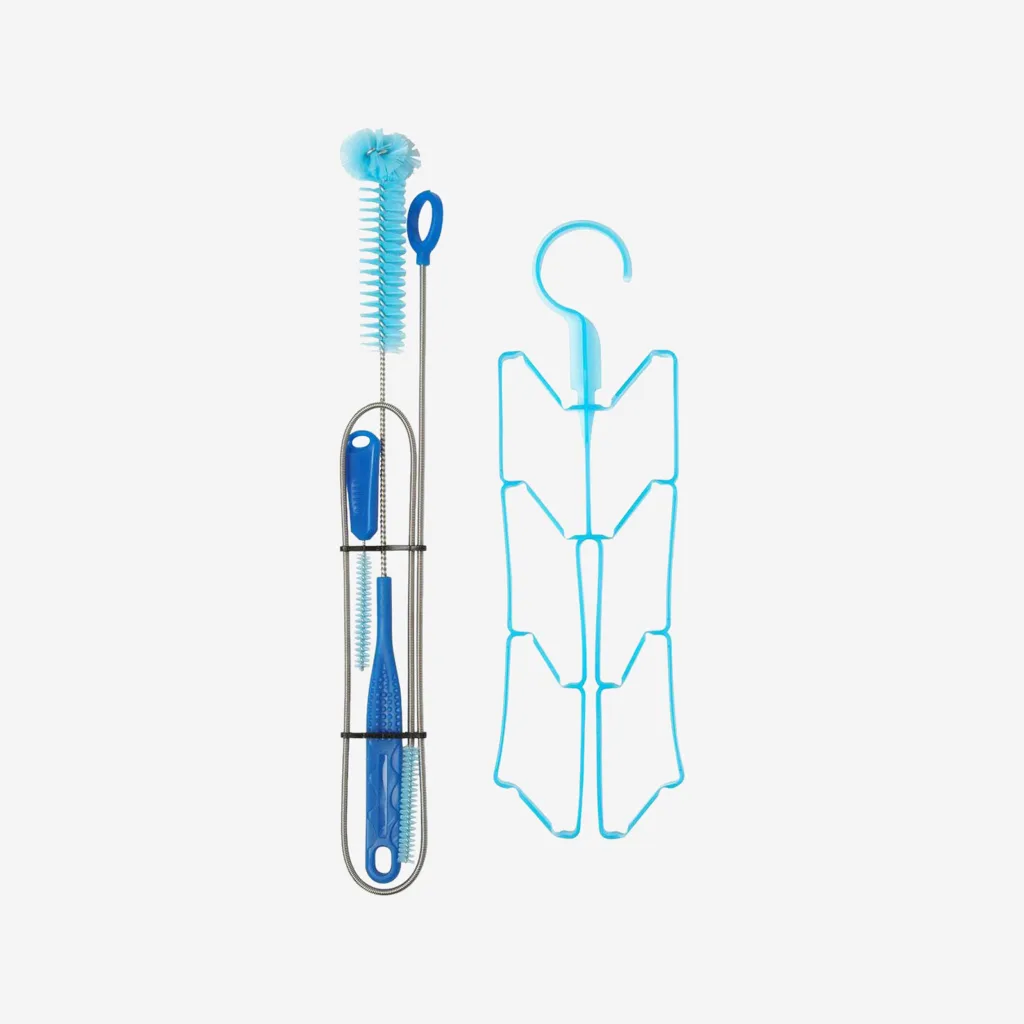
- Scrub the interior with a cleaning brush.
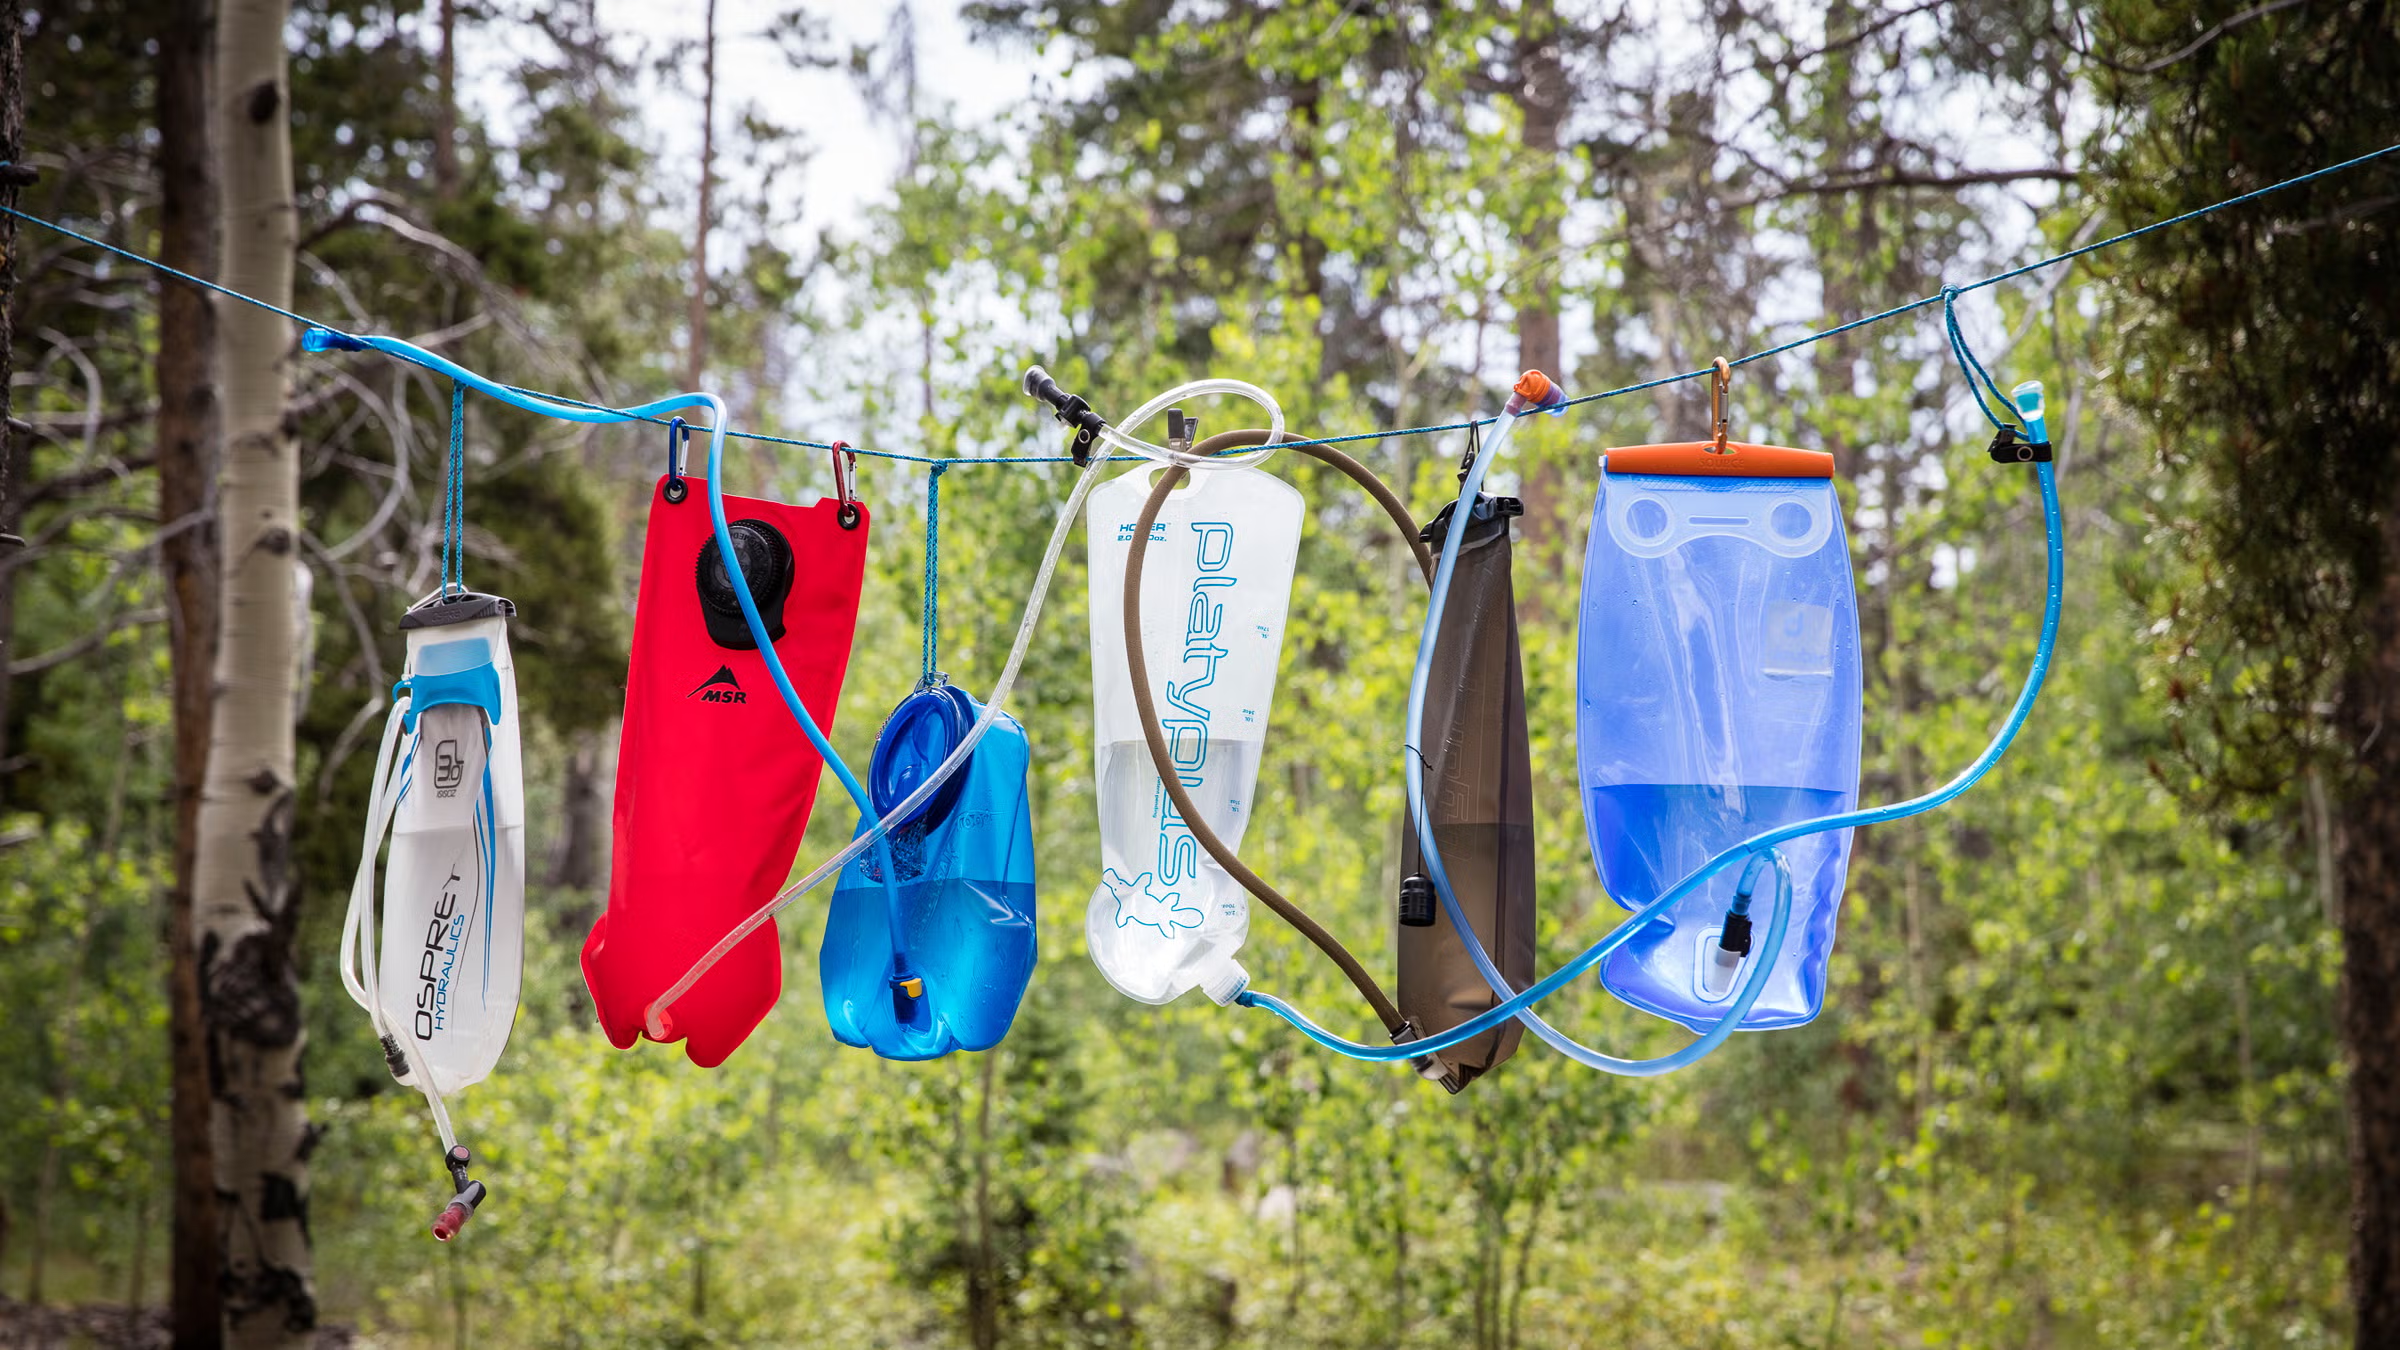
- Run soapy water through the hose and bite valve.
- Rinse thoroughly and hang to dry using a hydration bladder drying rack.
Common Mistakes to Avoid When Using Hydration Bladders
Avoid these blunders to get the most out of your hydration gear:
Overfilling
This can cause leaks and make it difficult to insert the bladder into your backpack.
Improper Cleaning
Neglecting to clean after sugary drinks promotes mold growth and bad odors.
Hose Kinks
These restrict water flow. Always straighten the hose and check for bends before heading out.
Hydration Bladders for Kids and Beginners
Kids need hydration too, but the gear must be tailored to smaller bodies and simpler use.
Small and Easy-to-Use Models
- CamelBak Mini M.U.L.E. (1.5L) is perfect for children ages 5-10.
- Features like bite valves with flow control help prevent spills.
Safety Considerations
- Look for BPA-free certification.
- Avoid heavy or oversized bladders that may strain a child’s back.
Environmental Impact and BPA-Free hrdation Bladders
Hydration bladders are reusable and can reduce reliance on disposable plastic bottles.
Sustainable Materials
- TPU and PEVA are popular eco-conscious materials.
- Choose brands that offer recycling programs for old gear.
Recyclability and Reusability
Regularly inspect your bladder for signs of wear but remember—reusable hydration bladders save hundreds of plastic bottles yearly.
Accessories to Enhance Your Hydration Bladder
Make the most of your hydration setup with handy add-ons:
Hose Clips
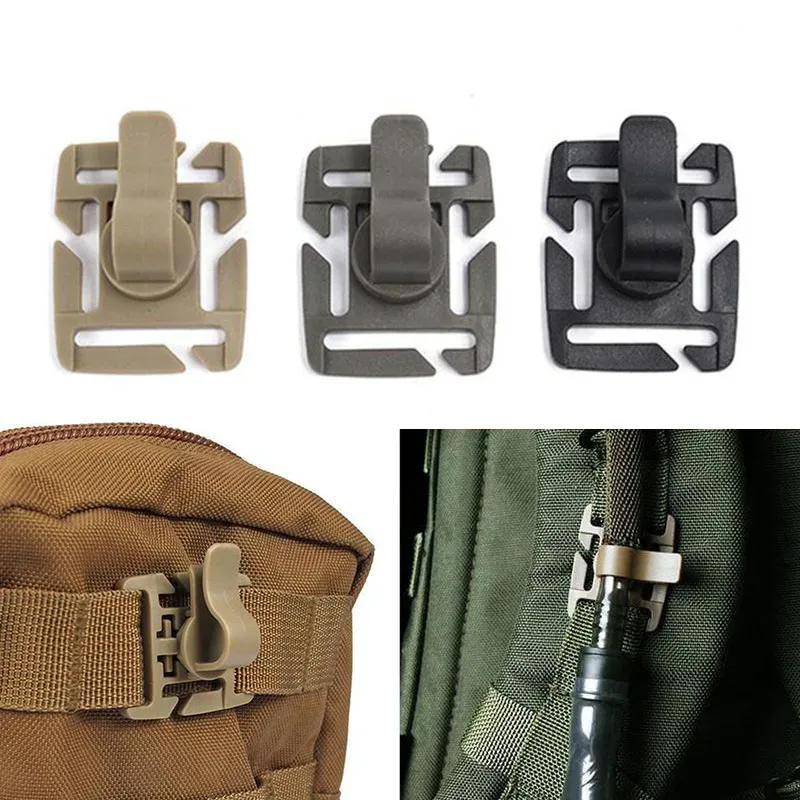
Attach your hose to your chest strap or backpack for quick sips. You can get them from Amazon like this and this.
Drying Racks and Cleaning Kits
Speed up drying time and prolong the lifespan of your bladder with proper gear.
Frequently Asked Questions (FAQs)
1. How often should I clean my hydration bladder?
After every use, especially if used with flavored drinks. For water-only use, clean weekly.
2. Can I put sports drinks or electrolytes in my bladder?
Yes, but clean it thoroughly afterward to prevent mold and residue buildup.
3. Is it safe to freeze my hydration bladder?
Yes, you can partially fill and freeze it to keep water cool. Do not overfill as water expands.
4. How long do hydration bladders last?
With proper care, a good-quality bladder can last 2-4 years.
5. Are hydration bladders dishwasher safe?
Some models are top-rack dishwasher safe, but handwashing is generally recommended.
6. What should I do if my bladder leaks?
Check the hose connection and seals. If a puncture is found, some brands offer repair kits or warranties.